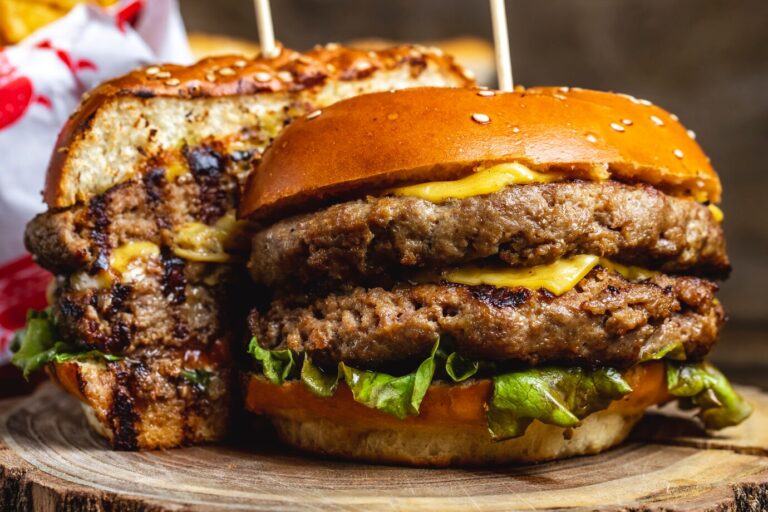
How Bowpicker Fish and Chips Astoria Became the Best Spot in 5 Easy Steps
Can You Recreate the Magic of Bowpicker Fish and Chips Astoria at Home?
Have you ever wondered what makes bowpicker fish and chips astoria such a beloved local favorite? Is it the crispy golden batter, the perfectly flaky fish, or the secret seasoning blend that keeps people coming back for more? While visiting their iconic food truck is an experience in itself, we’re here to show you how to recreate the magic right in your own kitchen. Whether you’re craving a comforting meal or looking to impress friends and family, this recipe will guide you step-by-step to achieve restaurant-quality results.
What Makes This Recipe Special?
Bowpicker Fish and Chips Astoria has earned its reputation by combining fresh, high-quality ingredients with simple yet precise techniques. The result? A dish that’s crispy on the outside, tender on the inside, and bursting with flavor. This recipe takes about 45 minutes from start to finish and is perfect for beginners and seasoned cooks alike. With just a few essential ingredients and some easy-to-follow steps, you’ll be well on your way to mastering this classic dish.
Building Blocks of Great Fish and Chips
To make delicious bowpicker fish and chips astoria , you’ll need the following key ingredients:
For the Fish:
- Fresh cod fillets (or any white fish like haddock or pollock)
- Why it matters: Cod is mild, flaky, and absorbs flavors beautifully without overpowering the dish.
- All-purpose flour
- Why it matters: Flour creates the base for the batter and helps achieve that signature crunch.
- Cornstarch
- Why it matters: Adding cornstarch to the batter gives it extra crispiness.
- Baking powder
- Why it matters: This ingredient lightens the batter, making it airy and delicate.
- Cold beer or sparkling water
- Why it matters: Carbonation ensures the batter stays light and crispy during frying.
- Salt and pepper
- Why it matters: Seasoning enhances the natural flavors of the fish.
For the Chips:
- Russet potatoes
- Why it matters: Russets have a starchy texture that fries up beautifully, creating crispy exteriors and fluffy interiors.
- Vegetable oil for frying
- Why it matters: High smoke-point oils like vegetable or canola are ideal for deep-frying.
Optional Substitutions and Variations:
- Swap regular salt for sea salt or Old Bay seasoning for added depth.
- Use gluten-free flour if you’re catering to dietary restrictions.
- Experiment with different beers—lager works best, but ale adds a malty twist.
Step-by-Step Instructions: Mastering the Art of Fish and Chips
1: Prepare the Batter
Start by whisking together flour, cornstarch, baking powder, salt, and pepper in a large bowl. Gradually pour in cold beer or sparkling water while stirring until the mixture resembles pancake batter. Let it rest for 10 minutes to allow the bubbles to work their magic.
Tip: Keep the batter cold throughout the process—it’s the secret to achieving maximum crispiness!
2: Cut and Parboil the Potatoes
Peel and cut the russet potatoes into thick strips, about ½ inch wide. Rinse them under cold water to remove excess starch, which prevents sogginess. Boil the potato strips in salted water for 3-4 minutes, then drain and pat them dry with paper towels.
Why Parboiling Works: Pre-cooking the potatoes softens them slightly, ensuring they cook evenly when fried.
3: Fry the Chips
Heat vegetable oil in a deep fryer or heavy-bottomed pot to 325°F (165°C). Fry the parboiled potatoes in batches for 3-4 minutes, or until they’re lightly golden but not fully cooked. Remove them and let them cool completely before frying again at a higher temperature (375°F/190°C) until crispy.
Pro Tip: Double-frying is the key to achieving restaurant-style chips that are crunchy on the outside and pillowy on the inside.
4: Coat and Fry the Fish
Dredge each piece of fish in plain flour, shaking off any excess. Dip it into the batter, allowing the excess to drip off, then carefully lower it into hot oil heated to 375°F (190°C). Fry for 4-5 minutes per side, or until the coating is golden brown and the fish is cooked through.
Tip: Don’t overcrowd the pan—fry one or two pieces at a time to maintain the oil temperature.
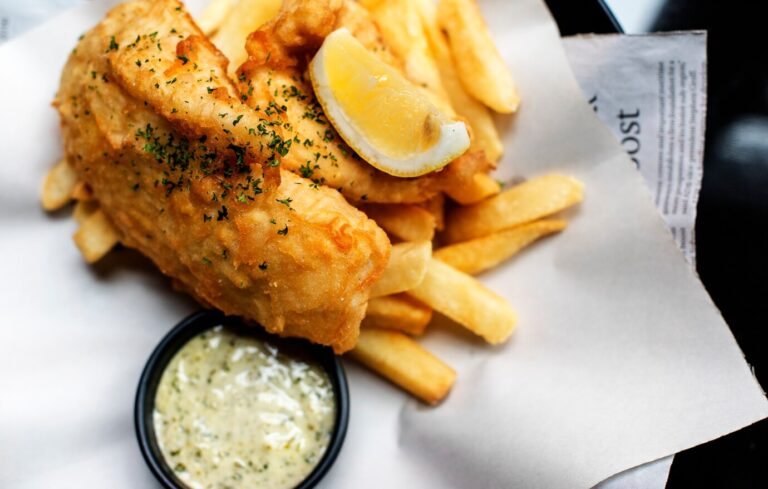
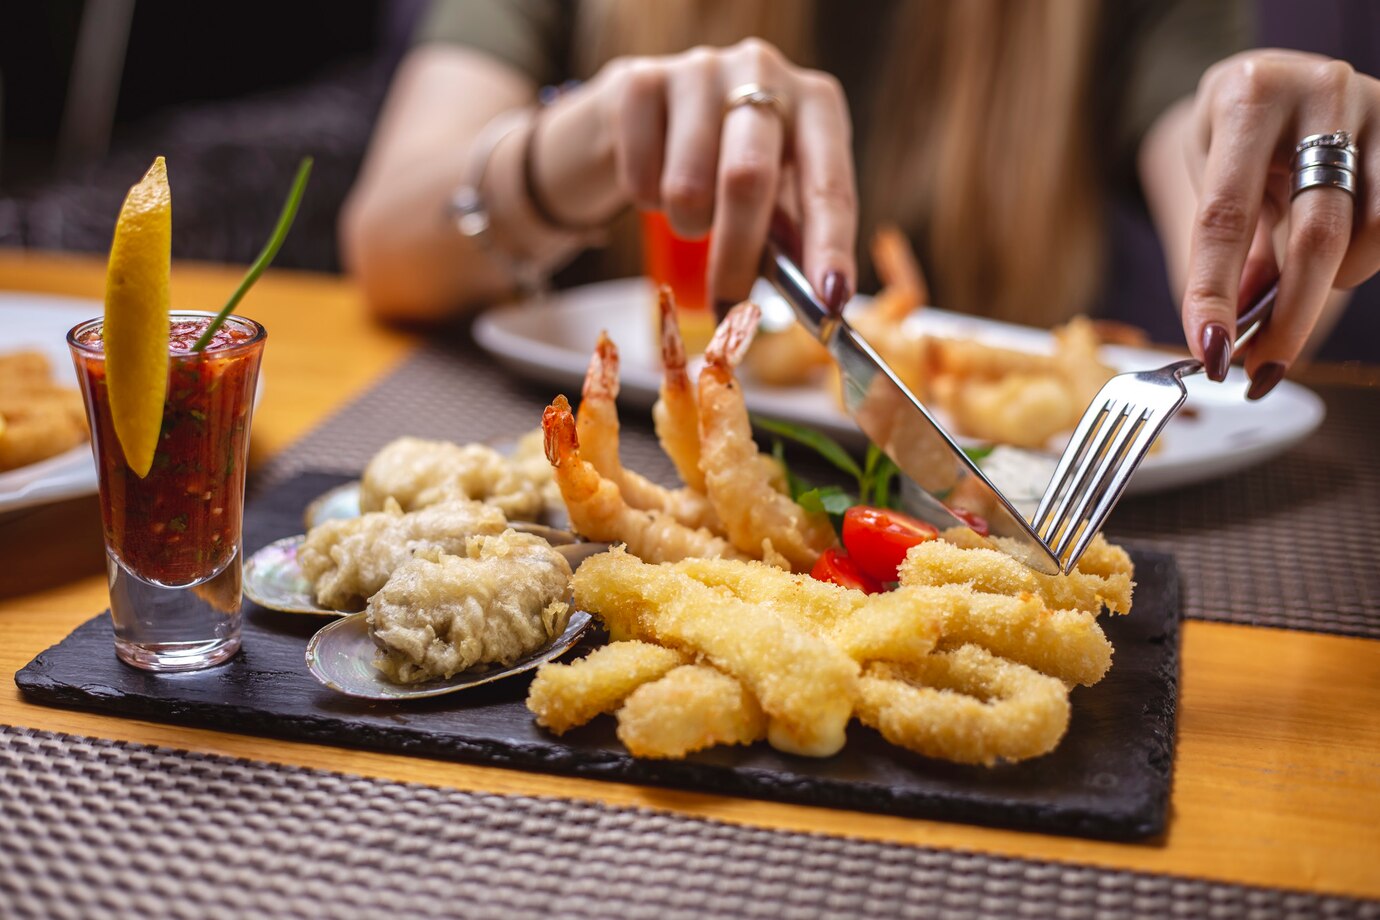
5: Assemble and Serve
Place the crispy fish and chips on a plate lined with paper towels to absorb excess oil. Sprinkle generously with salt while still hot for maximum flavor impact. Serve with tartar sauce, malt vinegar, or lemon wedges for squeezing.
Assembly: How to Plate Like a Pro
Presentation matters! Arrange the fish and chips artistically on a platter, placing the fish in the center and surrounding it with the crispy chips. Garnish with fresh parsley or a wedge of lemon for a pop of color. For an authentic touch, serve everything in newspaper cones—a nod to traditional British fish and chips shops.
Storage and Preparation Tips: Keeping It Fresh
- Leftover fish and chips? Store them separately in airtight containers in the refrigerator for up to 2 days.
- Reheat in the oven at 350°F (175°C) for 10-15 minutes to retain crispiness. Avoid microwaving, as it can make the batter soggy.
- To freeze, place cooled fish and chips in freezer-safe bags and store for up to 1 month. Reheat directly from frozen in the oven.
Recipe Variations: Get Creative!
- Spicy Twist: Add cayenne pepper or smoked paprika to the batter for a kick of heat.
- Veggie Option: Substitute fish with thick slices of zucchini or cauliflower for a vegetarian version.
- Healthier Choice: Bake the fish and chips instead of frying. Lightly coat with cooking spray and bake at 425°F (220°C) for 20-25 minutes, flipping halfway through.
Conclusion: Your Turn to Impress!
Now that you know how bowpicker fish and chips astoria became the best spot in town, it’s time to put your skills to the test. With these five easy steps, you can recreate the same mouthwatering flavors and textures that have made this dish a fan favorite. So grab your apron, gather your ingredients, and get ready to enjoy a meal that’s sure to delight everyone at the table.
Frequently Asked Questions
Q: Can I use a different type of fish?
A: Absolutely! While cod is traditional, haddock, pollock, or even tilapia work well too. Just ensure the fish is fresh and firm enough to hold up during frying.
Q: Is this recipe healthy?
A: Deep-fried foods should be enjoyed in moderation, but using fresh ingredients and controlling portion sizes makes this dish a treat worth indulging in occasionally. For a healthier option, try baking instead of frying.
Q: How do I keep the batter from falling off the fish?
A: Make sure the fish is completely dry before dredging it in flour. Also, let the battered fish sit for a minute before frying to help the coating adhere better.
Q: Can I prepare this ahead of time?
A: Yes! You can prep the batter and cut the potatoes earlier in the day. However, fry the fish and chips just before serving to ensure optimal crispiness.